Creating a New MCP Server in HasMCP
Using HasMCP UI
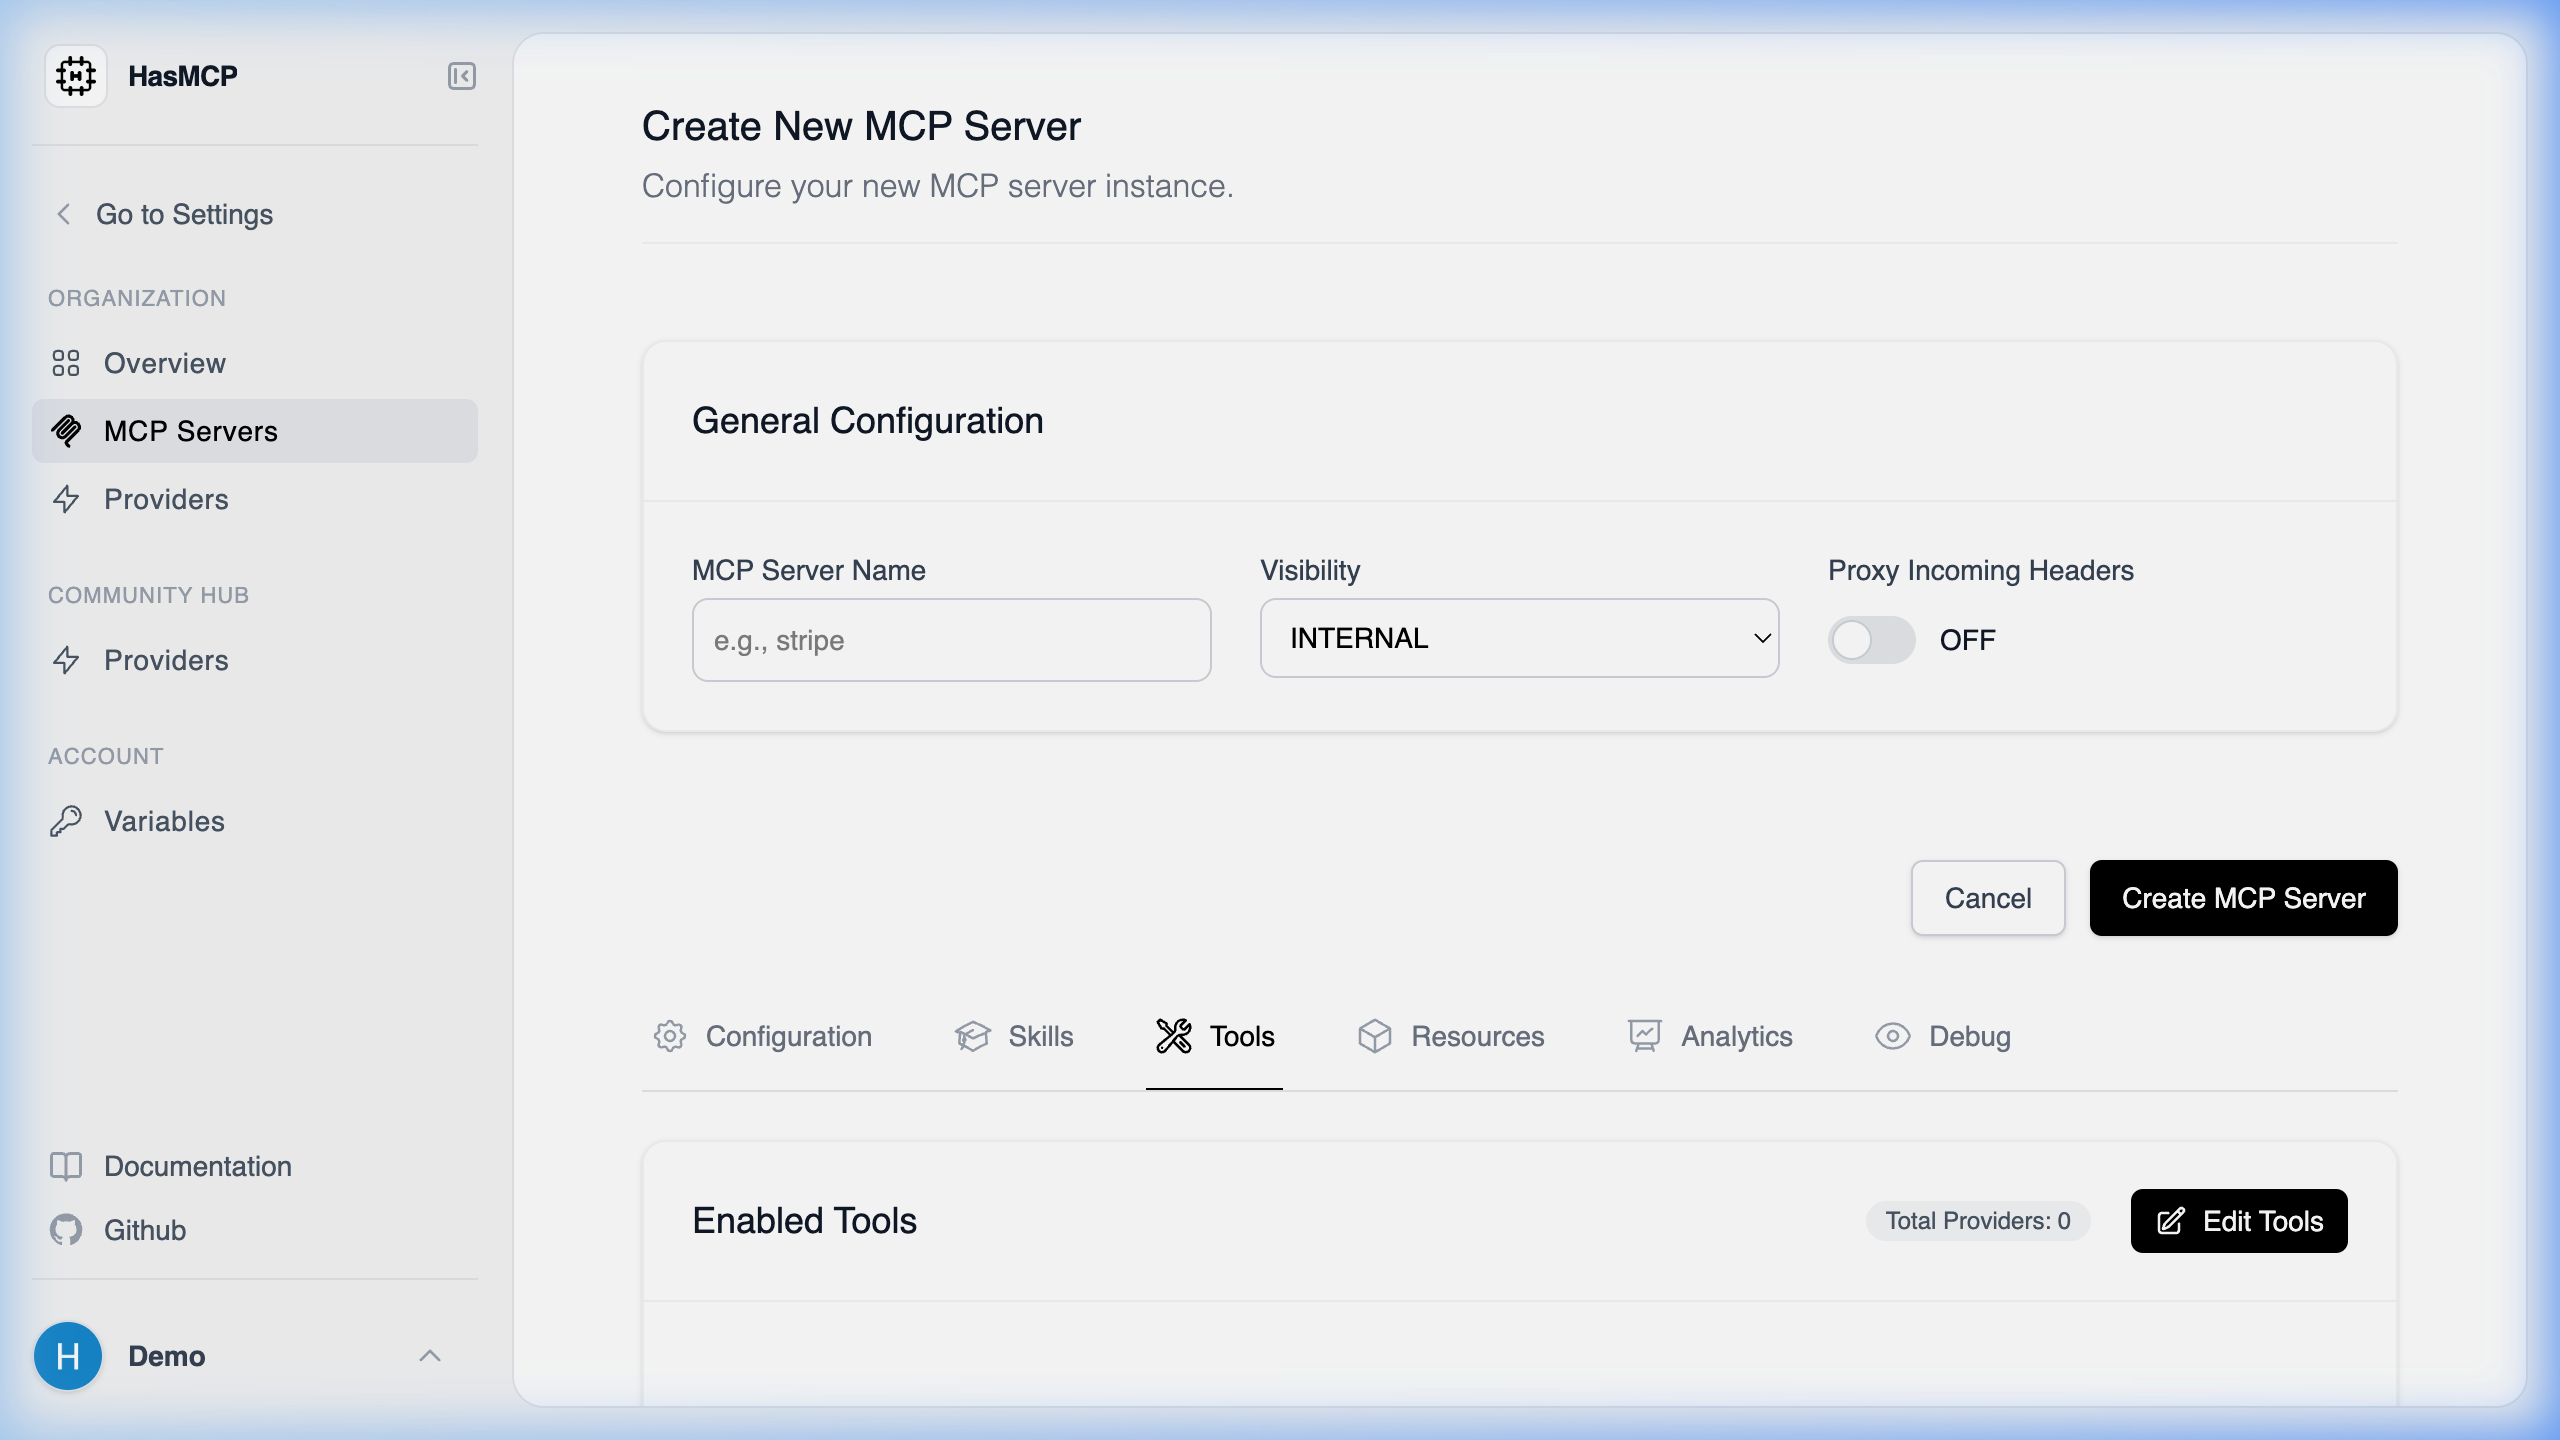
- Navigate to the Servers section from the sidebar.
- Click the Create Server or New Server button.
- Fill in the required fields such as the server’s name and its behavioral instructions.
- Save your configuration to instantly provision the server.
Using REST API
To create a new MCP server programmatically, you need to make aPOST request to the /servers endpoint with a JSON payload containing your server’s configuration.
Step-by-Step Guide
- Prepare Authentication: Ensure you have your HasMCP Manager API token. You will need to pass this in the
Authorizationheader as a Bearer token (Bearer ${HASMCP_ACCESS_TOKEN}). - Define Server Configuration: Create a JSON payload that specifies the
name,instructions,version, and any associatedproviders,resources, orprompts. - Send the Request: Make a
POSTrequest tohttps://app.hasmcp.com/api/v1/servers(or your specific HasMCP Manager base URL) with the compiled JSON body.
Example cURL Request
201 Created status code along with the newly created server’s details.