Prerequisites:
- A running instance of HasMCP.
- A HTTP endpoint that is functional
Step 1: Define the Provider
First, we need to tell HasMCP about the external API we want to use.- Navigate to the Providers tab in the sidebar.
- Click the + (Plus) button to open the creation form.
- Fill in the details:
- Name:
CoinbaseTicker - Base URL:
https://api.coinbase.com/v2 - Description:
Coinbase spot crypto currency price checker - Provider Type: Select
REST. - Visibility: Select
INTERNAL. (This is just a metadata at this point, if you are considering to share this please selectPUBLIC.)
- Name:
- Click Create Provider.
Note: Observe the Secret Prefix field (e.g., API_COINBASE_COM). You will need this for the next step if the endpoint requires any special headers.
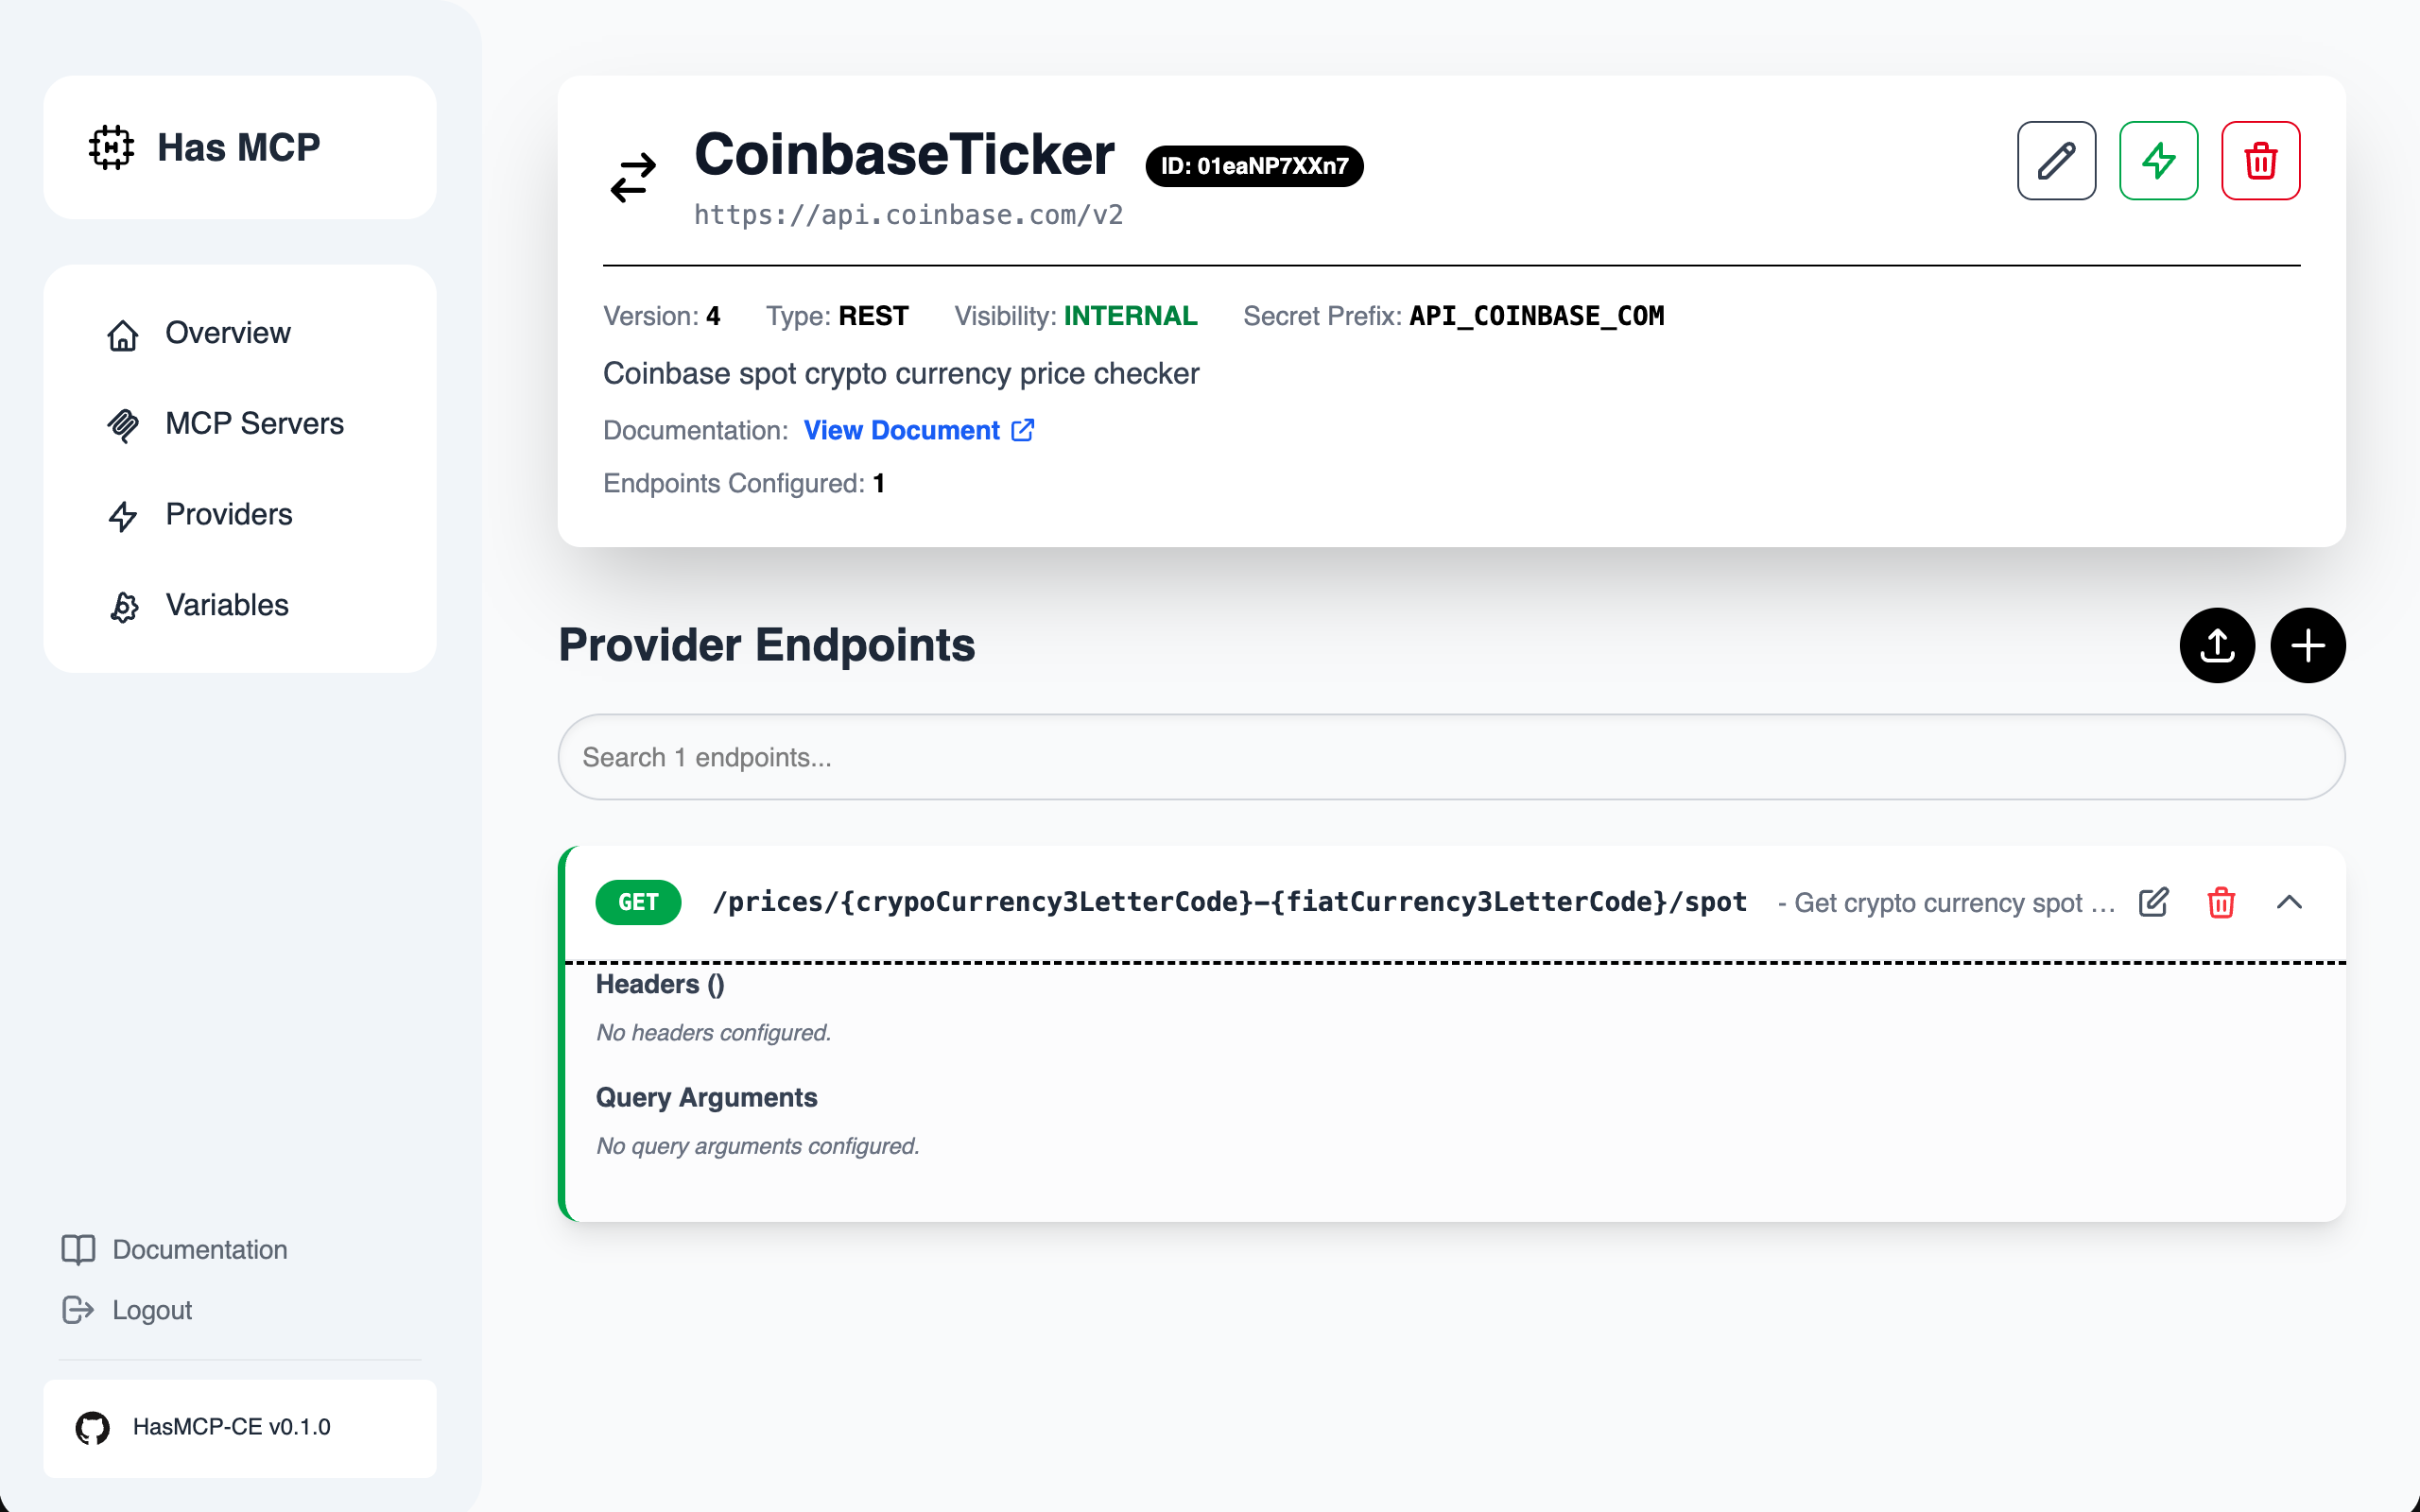
Step 2: Add an Endpoint
Let’s add a tool that the LLM can use, such as “Get Spot Price”.- Go back to your Providers list and click View on the
CoinbaseTickerprovider. - Click the + (Plus) button next to “Provider Endpoints”.
- Fill in the endpoint details:
- Method:
GET - Path:
/prices/{crypoCurrency3LetterCode}-{fiatCurrency3LetterCode}/spot- The actual example path is
/prices/BTC-USD, in this examplefromCurrencyCodeandtoCurrencyCodeare used to be descriptive to the LLMs. When a user ask to get BTC price in USD, LLM will put BTC and USD as pair accordingly. - Hint: While defining the variable name use descriptive names.
- The actual example path is
- Description:
Get crypto currency spot prices (e.g. BTC-USD)
- Method:
- Add Authentication Header (Optional for this specific endpoint, not needed for this but it is just example):
- Under “HTTP Headers”, add a new header.
- Key:
Authorization - Value:
Bearer ${API_COINBASE_COM_KEY} - Notice how we reference the variable we created in Step 2.
- Click Create Endpoint.
Step 3: Create the MCP Server
Now we bundle this provider into a deployable MCP server.- Navigate to the MCP Servers tab.
- Click the + (Plus) button.
- Name:
CoinbaseMCP - Select Providers: Find
CoinbaseTickerin the list and click the arrow to expand it. - Enable Tools: Toggle the switch next to
GET /prices/{currency_pair}/spot. - Click Create MCP Server.
Step 4: Connect to Claude Desktop
Finally, let’s connect your new server to Claude.- On the MCP Server Details page, locate the “Generate Token” button.
- Click Generate Token and copy the value.
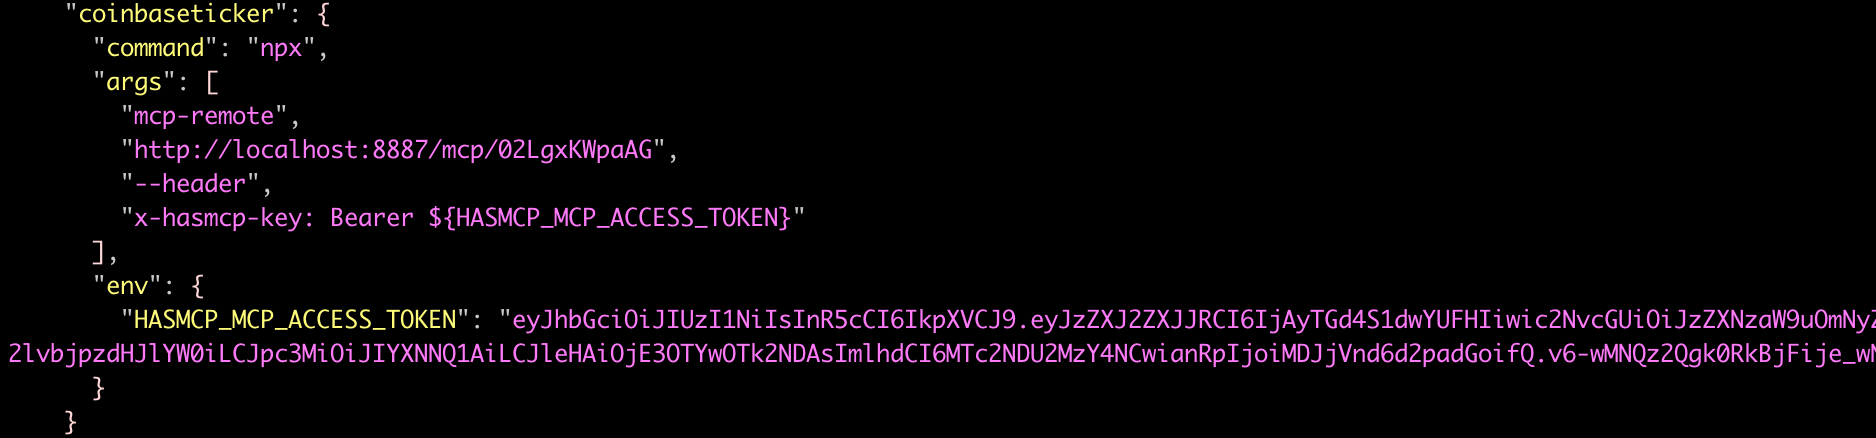
- Scroll down to the MCP Server Address section.
- Copy the JSON configuration snippet. It will look something like this for Claude Desktop Free users (Free users do not have access to remote MCPs yet, so this example uses mcp-remote command to bypass this limitation):
- Open your Claude Desktop configuration file:
- macOS:
~/Library/Application Support/Claude/claude_desktop_config.json - Windows:
%APPDATA%\Claude\claude_desktop_config.json
- macOS:
- Paste the snippet into the file and save.
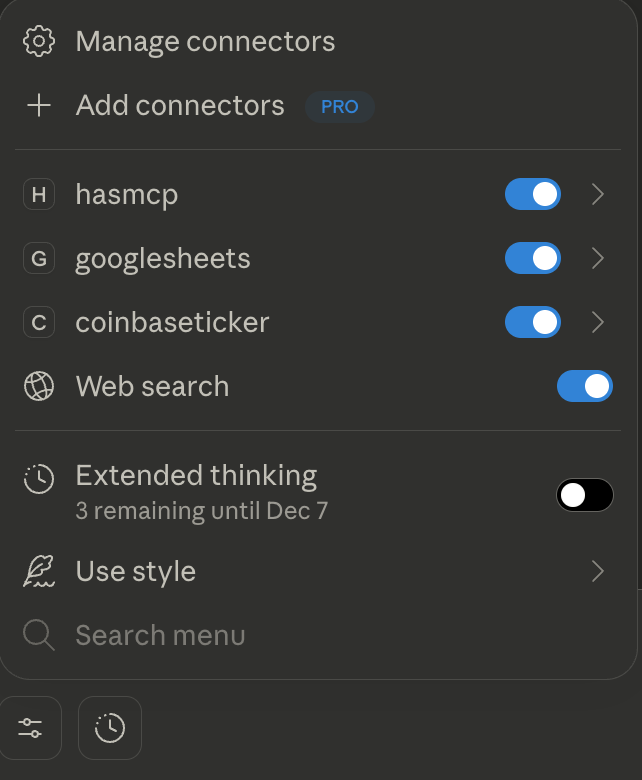
- Restart Claude Desktop. You should now see a 🔌 icon indicating the tool is connected!
- See it in action